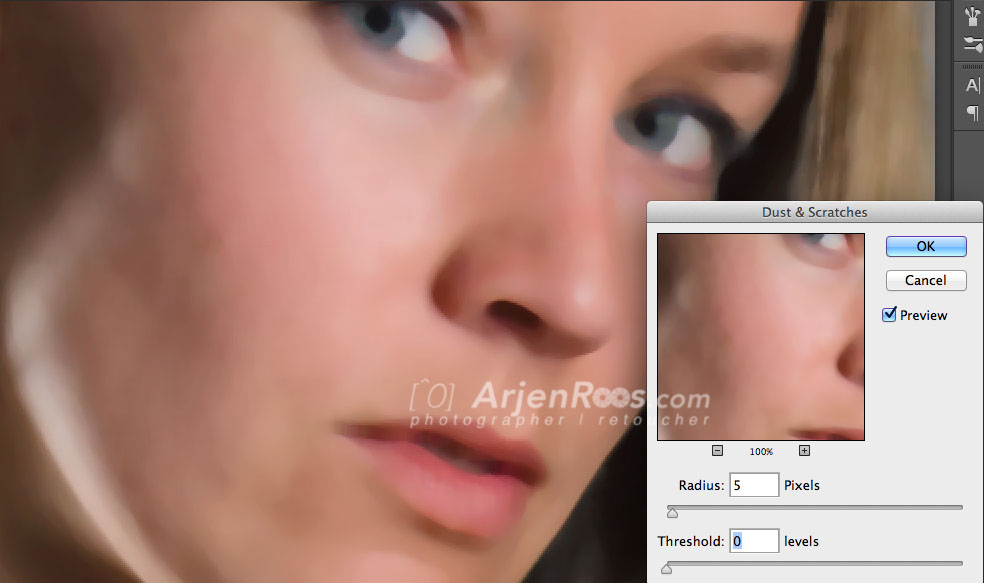
One of my first steps in retouching a female face is to soften the skin and remove blemishes without losing too much detail. A very simple way to do this is by using the “Dust & Scratches” filter in the filters menu in Photoshop under the category “noise”.
The best way to use this technique is to use it at a 100% zoom level to be able to really see the skin pores etc. Then select the “Dust & scratches” filter and drag the radius slider up until you see that the detail in the skin is lost.
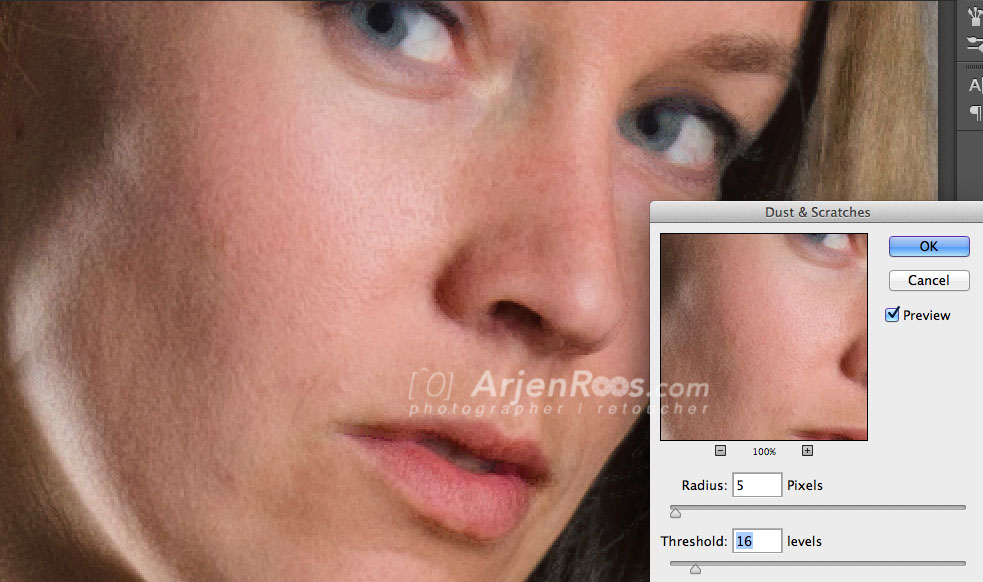
 Next drag the Threshold slider up while watching the preview until you see the fine detail in the skin again.
Click on OK to apply the filter on the image. Of course we now lost a great amount of detail in areas like the lips and eyes. The filter should only be used on the skin so let’s create a layer mask and fill it with black to mask out the effect.
 Now select the mask layer (the brackets must be around the layer instead of around the thumbnail of the image as seen is the image above) and paint with a soft brush set to white at 50% opacity on the skin parts where you want the skin softening effect.
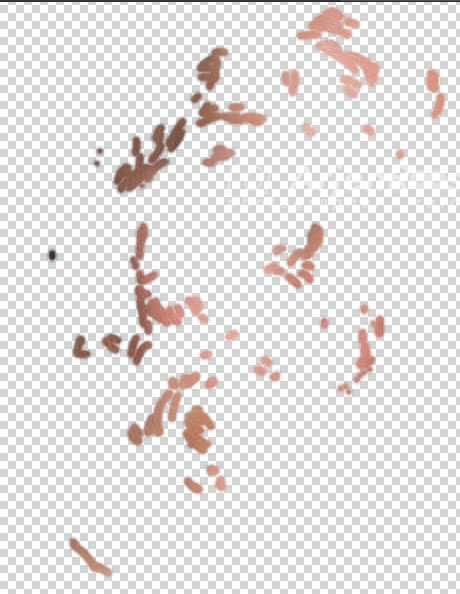
Zoomed in you can really see the effect in action:


After you are done the layer will look something like this: Next step is to remove blemishes in the skin. I always use a new layer for this part to be able to fix mistakes I make. So start by creating a new layer on top of the other layers and give it a recognisable name. I retouch a lot using the healing brush tool. Make sure you click “current & below in the options bar.
![]()
Take your time to go over all the blemishes. This part may take you a long time. It’s a dull task that has to be done.
To make your life a little easier finding the blemishes you can add an “Black & White” adjustment layer as top layer. Drag the red an yellow sliders a bit to the left to really make the blemishes stand out.
 Use this layer as a helper layer just to help you find all the blemishes you will want to remove. Just make sure the sample option in the options bar isn’t set to all layers while you do this. This way working on the retouch layer will retouch the image using the data of the layers underneath the retouch layer and not be affected by the black and white helper layer.
Afterwards remove the helper layer. and your retouch layer will look like this:
 And the final result
