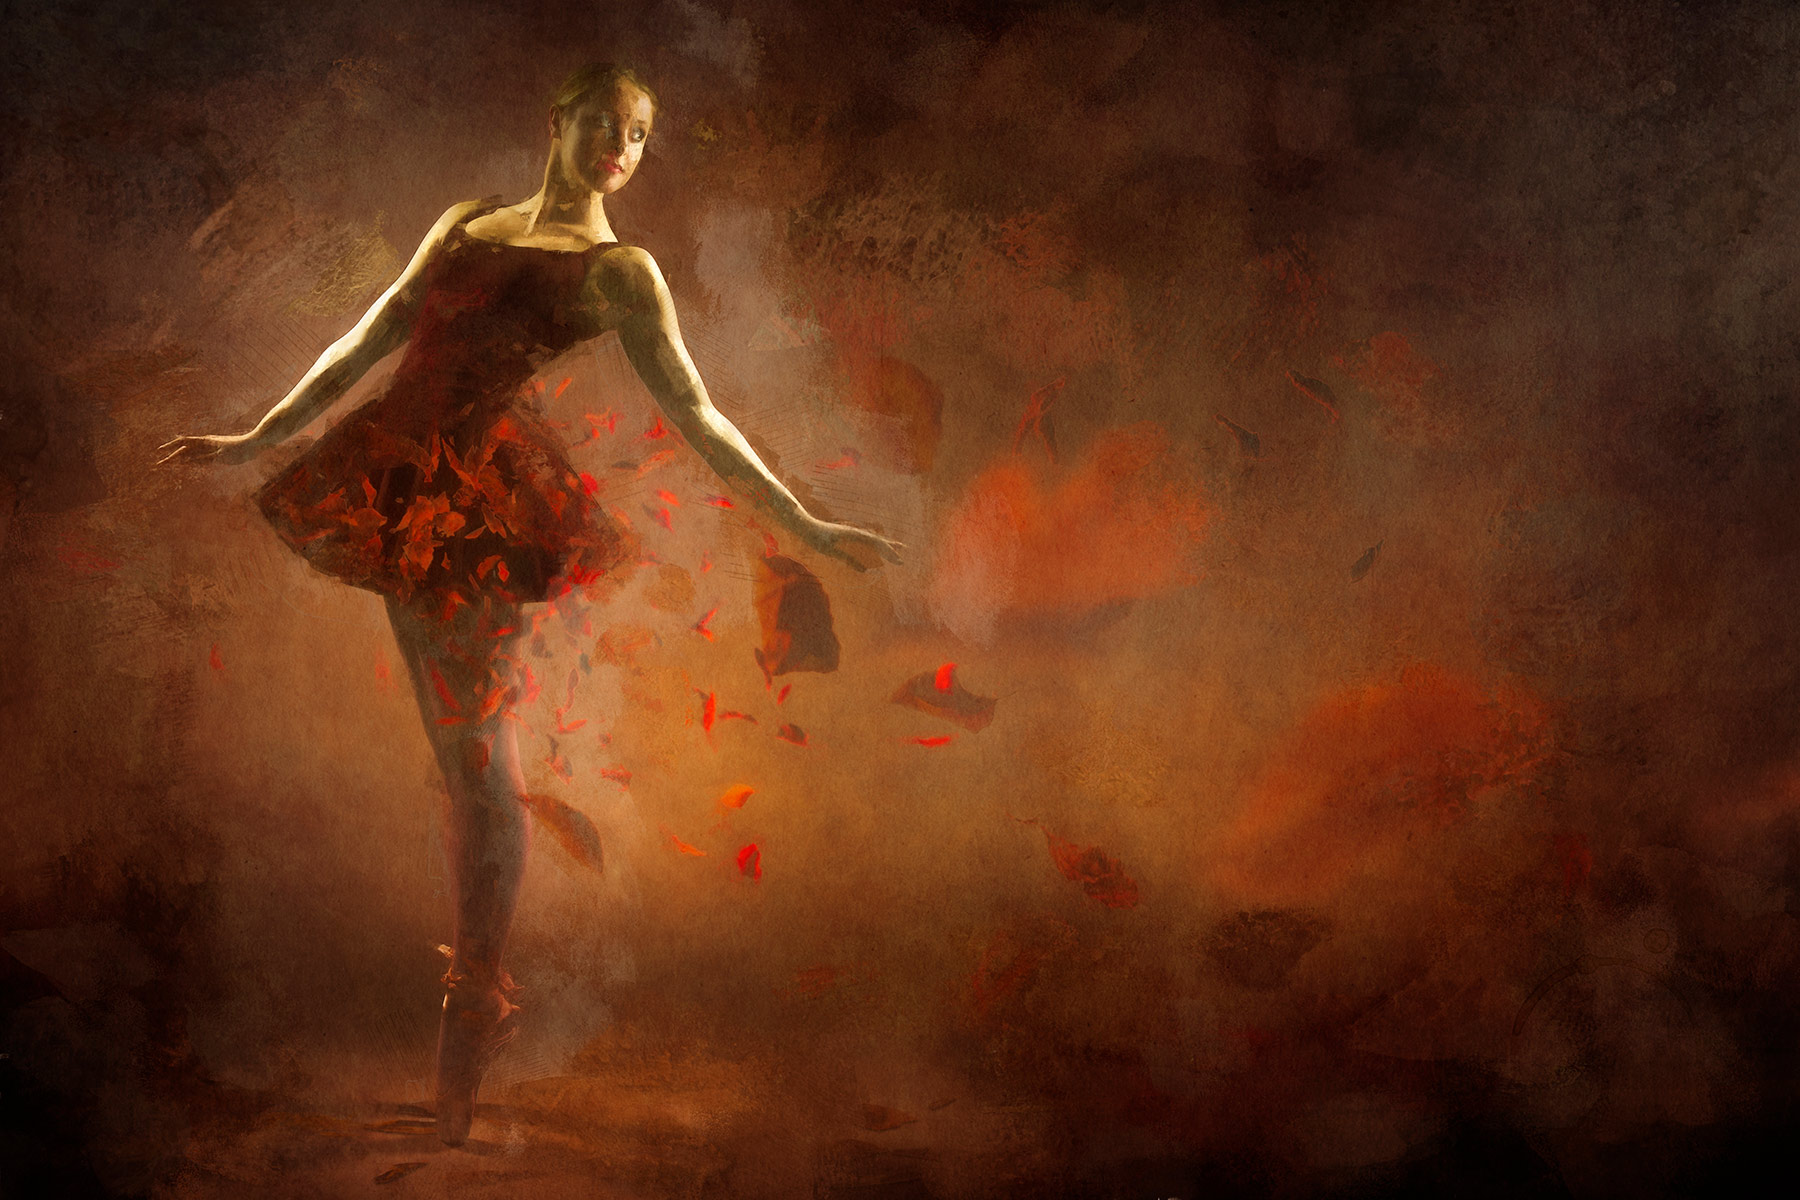
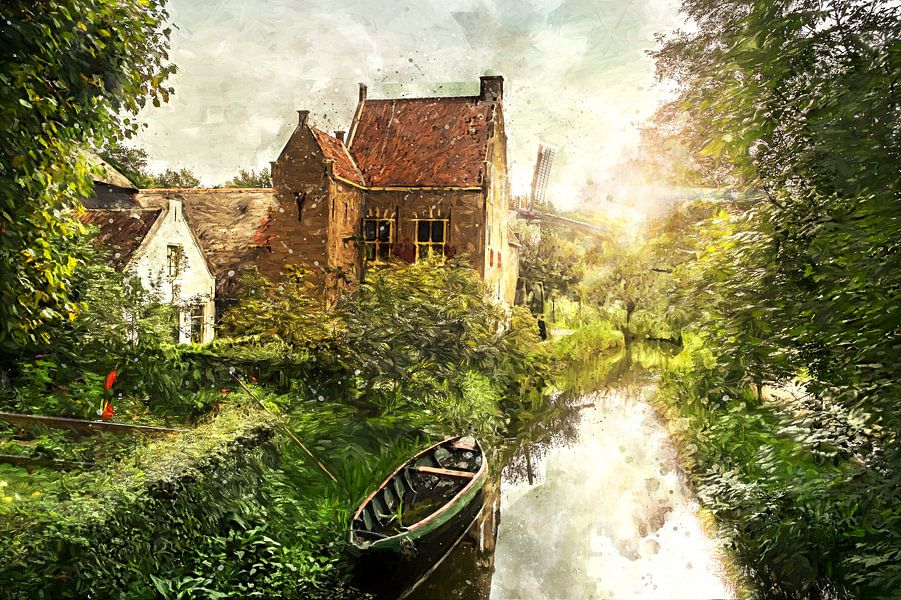
This is the second page of the creating a digital painting tutorial. The other pages are;
- preparation – moodboard
- preparation – create base image (this page)
- create working layers the quick & easy way
- create working layers by hand
- finishing touches
Preparing a base image to turn into a digital painting is probably the most work depending on your choice of image to turn into a digital artwork. Most of my digital paintings are made of images that are already heavily photoshopped before I turn them into a painting.
Often compositing multiple photographs I made myself, bought on stock sites or created using 3D render software.
If you use stock images or your own renderings also, then please read the end of this tutorial with some tips on using the techniques on this page in combination of purchasing stock images or rendered images.
For combining composites I published a couple tutorials a couple of years ago. Check the tutorials page, selectable from the menu to check them out.
Besides turning a composite into a digital painting sometimes a client will ask me to turn a photograph they have into a painting. Often enough these photographs aren’s available in high enough resolutions. For these scenarios I use the following techniques to try to get the starting resolution high enough to work with.
Also if you are using a older camera that just doesn’t deliver a high enough resolution of you want to turn an older photo from a while ago into a digital painting you might want to raise the resolution of this older photograph/image.
I want a base image to be at least 16 – 24 megapixels in resolution before turning it into a digital painting. I will describe 4 techniques you can use to upscaling your base image or photograph to a high enough resolution..
Technique 1; using photoshop image size upscaling
This is probably the easiest (and cheapest) method and will be fine when the starting resolution is close to what you want for the end result.
Open the low resolution image into photoshop then select ‘image’ from the menu and select ‘image size…’. The resize window will let you change the size of the image by percentage, point, pixels, etc. as the resizing unit. I always use pixels to give me the most control over the megapixel resolution of the end result.

I usually set the resample method to ‘Preserve Details 2.0’ but you will need a recent version of Photoshop to be able to use this. The Reduce Noise slider I will keep as low as possible because raising this slider too high will result in loss of detail. Keeping it too low will give a soft and blurry end result. The amount will vary depending on the quality of the photograph you are using so experiment a little with the slider until the end result is to your liking.
Technique 2; using a layer stack
This is a pretty good option if you have multiple photographs that are almost exactly the same (shot on a tripod, burst mode, etc). This way allows for doubling the resolution when at least 3 photographs are used.

A layer stack consisting on a bunch of images taken on a tripod or fast burst from a quick handheld camera will be a good way to increase resolution (and reduce noise), so this will be my go to method if I have a burst of photographs.
Open photoshop with all the images in their own separate layer in the same document. From Lightroom select all the images you plan to use, right click the last selected one of click on ‘photo’ from the menu and select ‘edit in’ from the menu and finally select ‘Open as Layers in Photoshop…’

After Photoshop has opened all the photographs on separate layers in a single document you can check the layers if all selected images in Lightroom came over to Photoshop.
After opening all the images in layers select ‘Image’ from the menu and select ‘Image size…’ and double the size of the image in the image resize window.

Now select all the layers by clicking on them in the layers pane (see the screenshot on the right) while holding the command/ctrl key.
When all the layers are selected choose ‘Edit” from the menu then select ‘Auto-Align Layers…’. A small window will open where you select ‘Auto’ under projection and leave the other options unselected. This step will make sure that all the layers are aligned. Especially useful when the photographs are shot handheld but even a small movement from a tripod can make subtle changes between the images taken.
Next select ‘Layer” from the menu and select ‘Smart Objects’ and finally ‘Convert to Smart Object’. This might take a moment while your computer processes the files.
When Photoshop is done creating the Smart Object you are left with only one layer in the layers pane. The icon of the layer will have a small symbol showing it is now a Smart Object.
Now again select ‘Layer’ from the menu and click ‘Smart Objects…’. Now click on ‘Stack Mode’ and finally choose ‘Mean’ or ‘Median’. You can try both to see which one gives the best results. Especially when you have moving objects in the photograph the Mean option gives a sharper result while Median will give the most noise-free end result in images with no movement.

Your image will now be doubled in size without extra noise.
This technique can also be used to remove moving objects of people from a scene by creating enough images during a slightly longer period of time. Just don’t double the image size after opening all the layers.
Also when you have to use a high iso photograph because of a lack of light and the end result is a noisy image. you can take a couple of photographs on a tripod ( of burst handheld) and use the exact same technique to reduce the noise. Using this technique to reduce iso noise you don’t want to double the image size after opening up the layers in Photoshop.
Technique 3; creating a composite
Let the base photograph only be a part of the end result by compositing it into a larger image. Combining this with the other methods will probably work even better.
Of course not all subjects are suited to be composited, so if all other options aren’t possible or aren’t giving you a good enough result the last method is probably going to save you ;).
Because creating a composite is a whole other tutorial (which I already published on this blog) I won’t describe this method in detail here.
Technique 4; using Topaz Gigapixel ai
By far the easiest way to upscale your base image or photograph is using Gigapixel ai.
At first I was very sceptical about using this kind of software to upsize an image especially because I thought the image resize built into photoshop was probably the best I could get as far as end result goes. Also the ‘ai’ part of the title wasn’t helping me much because I don’t think these programs actually use any kind of ai but just use clever software algorithms to archive their results, but seeing the software is free to try for myself I gave it a go and quickly turned into a fan of Gigapixel ai.
I was using other programs from Topaz for years already and they all performed well. Creating my digital paintings leans big time on Topaz software.
Topaz Labs claims the software’s artificial intelligence is trained using thousands of images for best results and I have to agree that this way of upscaling the resolution of my images is by far the easiest way and gives me the best results. Even tough Photoshops own image upscale has gotten better lately Gigapixel ai will beat the upscaling results easily.

After opening the base photograph in Topaz Gigapixel ai you will see a preview of the generated image at its new resolution with selected settings.
The Gigapixel ai software can boost the image size to bizar high resolutions I will probably never have to use myself so I stick to the 2x or 4x, in rare occasions, image resize myself. Of course you can choose a custom height of width yourself also.

Depending on the source image you can choose different techniques called ‘AI modes’ for Gigapixel ai to do its magic enhancing details.
‘Standard’ mode is best use for general all types of photographs.
‘Architectural’ is best used for images with crisp clear edges like buildings and cityscapes.
‘Compressed’ is used for old images or images with a lot of compression artefacts or low resolution images downloaded from the internet.
Finally the ‘Art’ mode is used for drawings, cartoons, paintings, screenshots from videogames or animations, etc.
The ‘Suppress Noise’ and ‘Remove Blur’ settings I always try on ‘Auto’ first to check the results in the preview window. Based on the quality of the base photograph I change the automatic settings as needed.
The ‘Reduce Color Bleed’ changes the gamma of the image which can be helpful sometimes but I don’t turn this on often, while the ‘Face Refinement’ option is useless in my opinion as it softens the skin way too much for me. But maybe this is what you are after yourself.

When you are done changing the settings to your likings you can click on the ‘Save Image’ button.
Next you are presented with the ‘Save Image As’ window where you can choose how to save the upscaled image.
Saving in the .Tiff format will give the best results but also the biggest file size.
When you click the ‘Save’ button Gigapixel Ai will start to do the crunching and upscale the resolution of your photograph. This might take a while on a slow computer, but trust me the end result will be worth it. 🙂
If you are interested in trying Gigapixel ai from Topaz Labs yourself, you can download a trial version or purchase the software or take a look at the product page. It is a no brainer if you are doing client work that needs upscaling because it simply gives the best results when you have clients that want work done on a smartphone photograph.
Also you can save money on stock images by choosing a lower resolution version you upscale to a high resolution yourself this way.
And finally I noticed that when using renderen images in you work you can lower your render times considerably by rendering a lower resolution and using Gigapixel ai to upscale your render.
When your Base image is ready to be turned into a digital painting you can continue this tutorial, but you have a choice to make here. For the next step (creating the working layers) I have written a ‘quick and easy way’ tutorial using third party software. I also wrote a tutorial on how to create these layers by hand, which will take a couple of hours longer but doesn’t need third party software.
Links to Topaz Labs on this page will contain an affiliate link to help me keep my tutorials free for everyone to use. Using these links won’t change the price you pay if you decide to purchase from Topaz Labs but gives me a small fee for each sale.
Thank you for supporting my tutorials this way.

